Mason Jar Maple Apple Cranberry Cobbler (Vegan, Gluten-Free)

IMG_0005
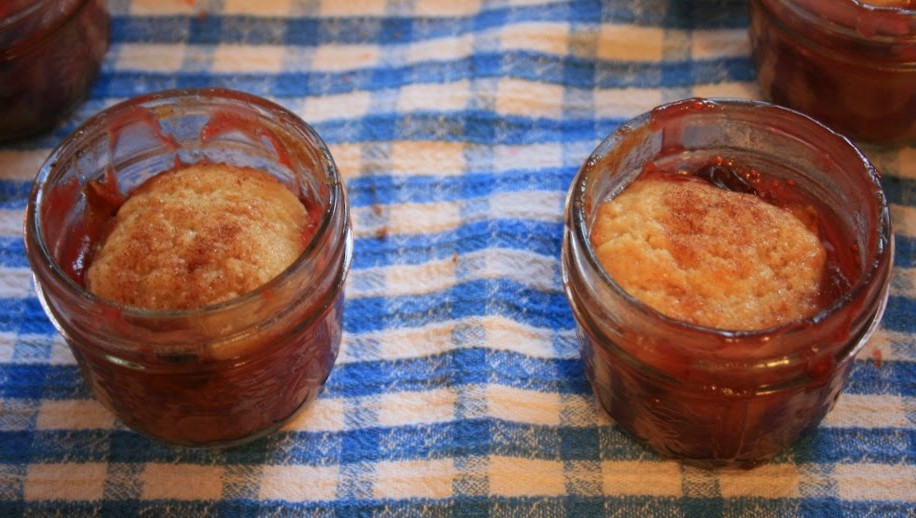
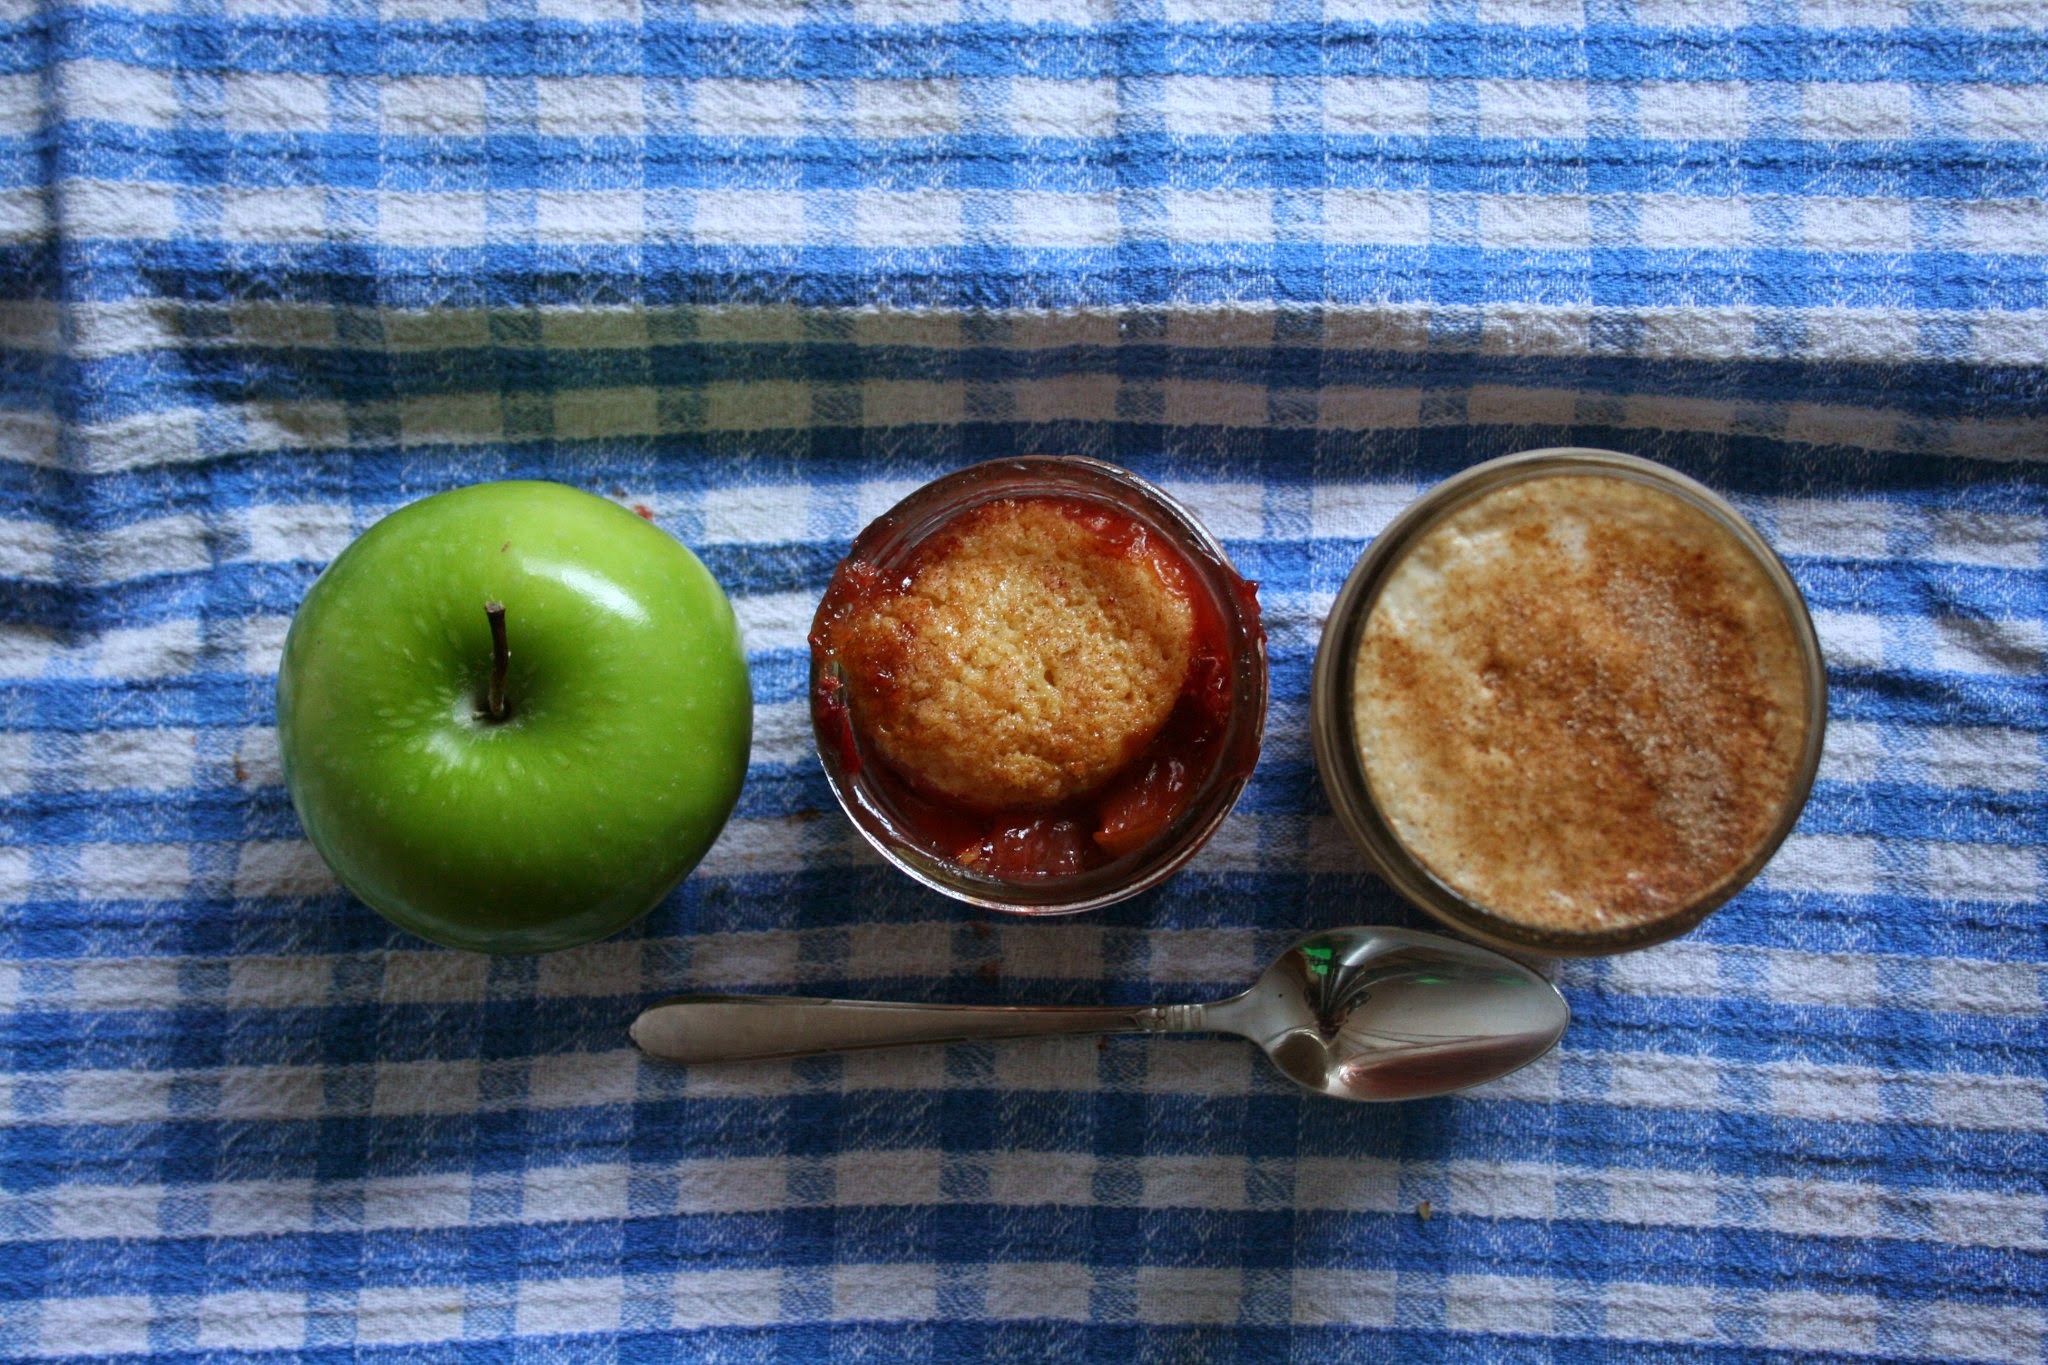
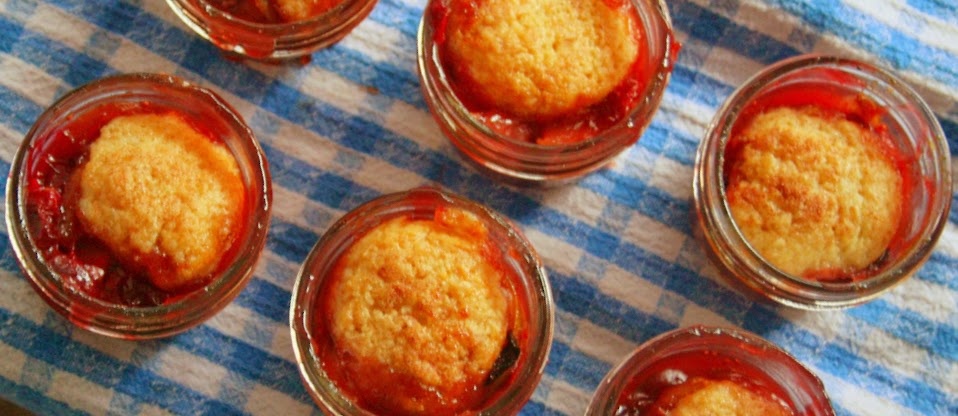
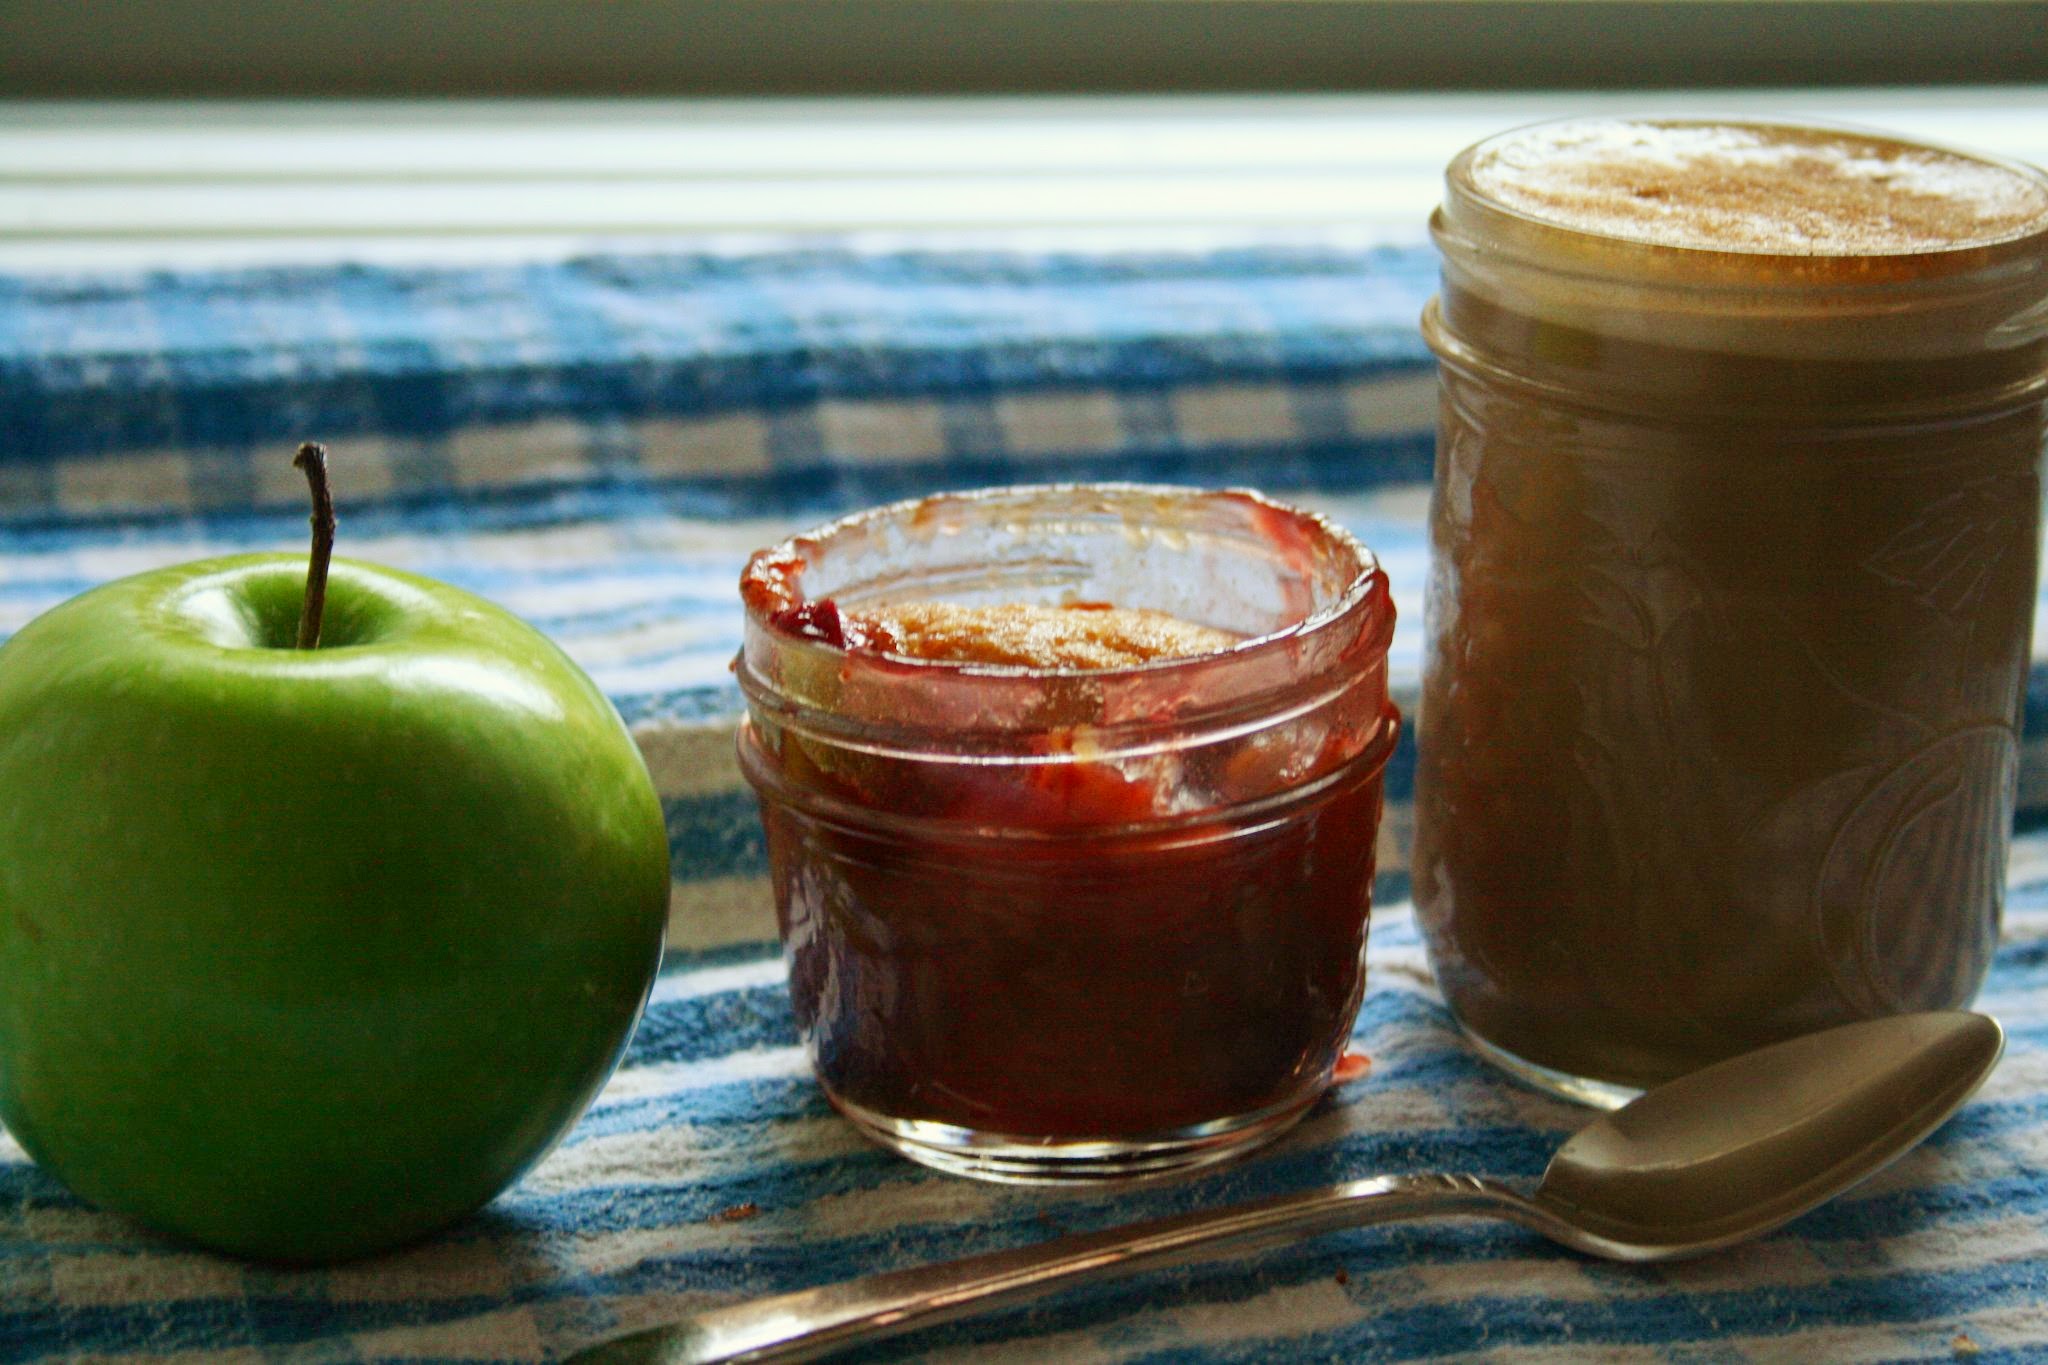
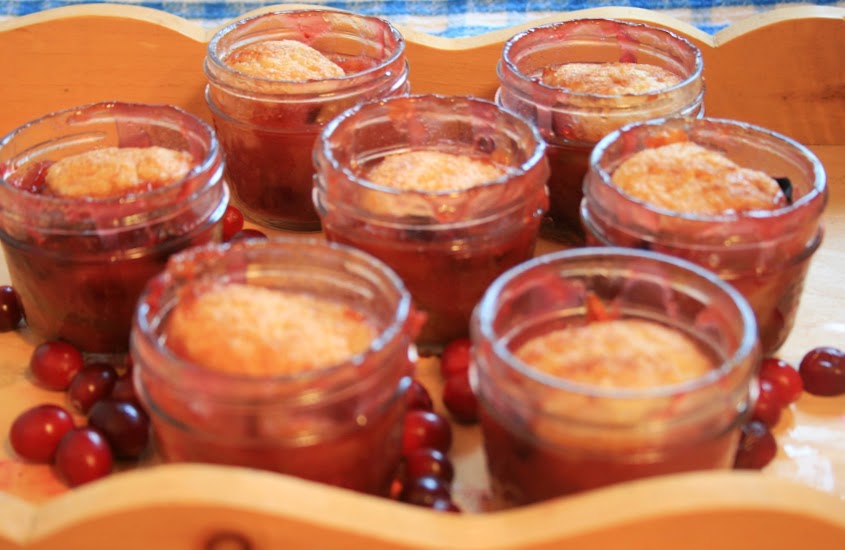
Confession: I ate one of these straight out of the oven and burnt my tongue. It was worth it. And everyone knows mason jars make everything look more delicious. If you don’t want the trouble of individual servings and a palate of tiny mason jars, please just put this in a regular old 9 x 13 baking dish.

IMG_0027

For a better texture, I peel half the apples. Do what you will. I live in Quebec, so maple products are available at every turn. If you’re not so lucky, sub in equal parts brown sugar where maple syrup and maple sugar come up.

IMG_0004 (1)

Makes six-125ml servings

Fruit Bottom

4 Granny Smith apples, cored, half peeled and sliced thin
1 1/2 cups cranberries, roughly chopped
2 tablespoons gluten free flour (mine)
2/3 cup granulated sugar
1/4 cup maple syrup
3/4 teaspoon cinnamon
1/2 teaspoon vanilla extract
1/4 cup water
3 tablespoons non-dairy margarine, cut into 12 equal pieces

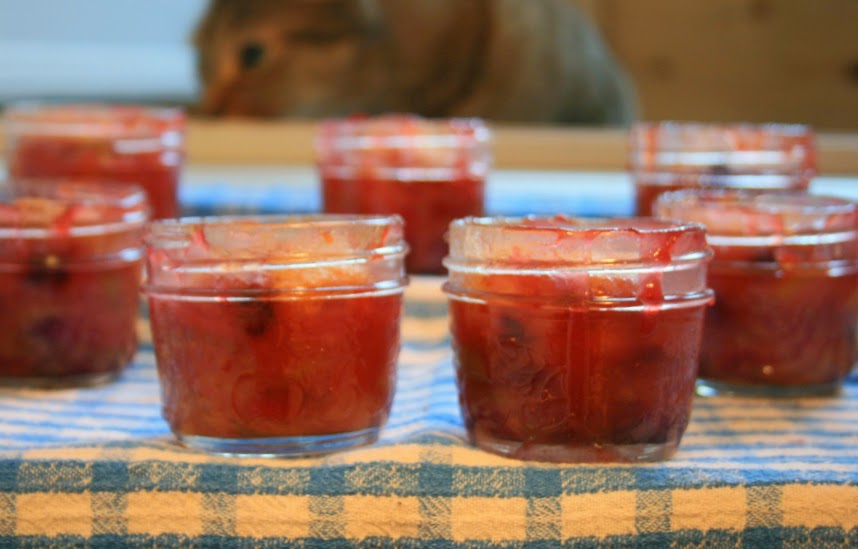
Preheat oven to 350 F. Prepare apples and cranberries. Toss in a large bowl with flour and sugar, making sure all the fruit is evenly coated. Add maple sryup, cinnamon, vanilla and water and stir. Divide evenly between 6 mason jars. The fruit will make a mountain in each jar, but relax – this cooks down a tremendous amount. Place the fruit-filled mason jars on a baking sheet and dot each one with two pieces of margarine. Bake for 20 minutes. In the meantime, prepare the topping:

Topping

IMG_0022

Someone was curious…

1/2 cup gluten free flour
1/2 cup maple sugar
Pinch of salt
1/2 teaspoon baking powder
2 tablespoons non-dairy margarine, softened
2 tablespoons non-dairy milk
1 teaspoon lemon juice
Cinnamon sugar, to taste

In a small mixing bowl, whisk together the dry ingredients. Using a fork, incorporate the margarine until the mixture looks like oatmeal. Add the milk and lemon juice and mix until relatively smooth. Once the 20 minutes are up for the fruit filling, add a scoop of the topping to each mason jar and put back in the 350 F oven for an additional 20 minutes, or until the cobbler topping is golden brown and springs back at your touch. Serve warm with non-dairy ice cream, whipped cream or on its own.

IMG_0017 IMG_0002 IMG_0016

Sweet Potato Cauliflower Tots

IMG_0038

I’ve taken a cauliflower tot recipe (from a shamefully named website)  and twisted it to suit my needs. The cauliflower gives it the tot (potato gem, spud puppy) texture, while a host of other ingredients gives it a savoury edge that makes these oh so irresistible! They are definitely a favourite around here. Perfect for breakfast, lunch, dinner or a snack!
IMG_0035

Makes about 50 tots

Half a large head cauliflower, florets removed, steamed and then finely chopped
1 cup mashed sweet potato (2 medium sized)
2 tablespoons minced flat-leaf parsley
1 small yellow onion, minced
1/2 cup vegan cheddar shreds (I used Daiya with great success)
2 tablespoons nutritional yeast
3/4 cup gluten-free bread crumbs
1/2 teaspoon dried dill (optional)
1/4 teaspoon salt
A few sprinkles freshly cracked black pepper
1 tablespoon canola oil, for baking

Preheat oven to 400 F. Line a large baking sheet with parchment paper. Set cauliflower to steam for 4 minutes. Once steamed, let sit until cool enough to handle. Tun your knife through the florets until you have crumbly bits of cauliflower and no large chunks left. Nothing fussy, just relatively small. In a large bowl, combine sweet potato, parsley and onion. Add cauliflower. Add remaining ingredients to a large bowl and stir until combined. The tot mixture will look looser than it is but a small amount of pressure should get them to hold together. To form tots, use two spoons, your hands or a small ice cream scoop. Place on the baking sheet, drizzle with oil and bake for 40 minutes, turning over 20 minutes in. Serve warm with your favourite dipping sauce. I’ve used Sriracha and pesto Veganaise.

tots3

Sunday Roast Chik’n Tofu Patties (Vegan, Gluten-Free)

IMG_0024tofu6

Tofu, my love. You remain safe for my husband to eat and you take on whatever flavour I ask you to. You provide us with rich protein, iron and calcium.  In this case, I asked the tofu very politely (because I am Canadian, after all) to transform into the warmth of a roast dinner, minus all the hours of endless hard work in the kitchen. It obliged, of course. This versatile recipe can be formed into any shape you feel like eating: balls, patties, baked in muffin tins or a loaf pan; baked, fried, steamed. Eat on its own, with gravy, as part of a big meal, in a sandwich… Oh, it’s so savoury and versatile… I’ll stop gushing.

tofu5

The ingredient list looks long, at a glance, but take heart – they’re mostly dried spices you’ve got in your pantry. If you don’t, they’re all spices I would recommend having around at all times. My recipe will be for tofu patties so if you’re wondering how to cook it in another form, please let me know in the comments and I’ll be glad to give further instructions.


Serves 4, very comfortably

1 lb firm tofu, crumbled with your hands
1 small yellow onion, diced
1 medium carrot, peeled and shredded
1 leek, white part only, sliced thin
4 cloves garlic, minced
1 teaspoon fresh rosemary, finely chopped
1 teaspoon dried thyme
1/2 teaspoon dried oregano
1/2 teaspoon dried dill
1/2 teaspoon dried sage
1/2 teaspoon celery seed
1/2 teaspoon garlic salt
1/4 cup nutritional yeast
1/4 cup quinoa flakes (oats, if you can eat those)
1/4 cup corn flour, plus more for dredging
1/2 cup mashed sweet potato (or butternut squash)
2 tablespoons tamari
2 tablespoons canola oil, plus more for cooking

Preheat oven to 400 F. Line a large baking sheet with parchment paper. Combine all ingredients in a large bowl and mix together with your hands. The mixture should stay together when pressed with your fingers. If you find the mixture is too dry to hold together, add a little mashed sweet potato or tamari. If you find your mixture is too wet, increase the amount of corn flour or quinoa flakes. Different climates will lead to slight differences in the consistency of any recipe, so trust yourself and make this work for you. Form balls from about 2 tablespoons worth of mixture with your hands. Dredge each ball in corn flour and press the flour into the tofu, while flattening it out into a flat and round shape. Place each patty on the lightly oiled parchment paper. Drizzle a little more oil over the patties and flip each one, making sure they have a slightly glossy coat on them. Bake for 25 minutes total, flipping them and rotating the sheet 15 minutes in. Serve warm or nibble on them at room temperature.

tofu4

Notes: Husband thinks these taste of stuffing, and you’ll find as soon as you’ve mixed it all together you’re going to get hit with that familiar aroma. Run with that, let it be your guide.

I’ve used corn flour in this recipe because I love the crunchy texture it gives + minimal effort. I’ll often dredge tofu slices in corn flour and salt and then quickly pan-fry them for the easiest of all easy tofu dinners.

I’ve literally never pressed my tofu and it is always SPECTACULAR, so I’d advise you to look for less fussy recipes and start learning the ways to love tofu straight-away.

Lavender Cupcakes with Lavender-Blueberry Buttercream (Gluten-Free and Vegan)

lavendercupcake3
Sometimes inspiration comes from the tiniest places. I found miniature and adorable Easter-themed cupcakes liners a couple months ago, which led me to want to make Easter-themed tiny cupcakes, which led a million ideas of what that means. I settled on lavender because it is a lovely and underutilized flavour and the pastel colour is perfect for spring.

Lavender has several culinary complements but I wanted to keep it simple and use berries so I wouldn’t strangle the delicate flower bud with something like ginger. I hoped to get a wonderful purple colour out of my buttercream without the need for food dye and so I arrived at blueberries. Excellent.

There are very few times I am 100% satisfied with the results of my culinary adventures. This is one them. These are so lovely. I threw technique I know about baking, vegan baking and gluten-free baking and I poured them into this. Please enjoy.

lavendercupcakes2

Makes 12 large or 30 miniature

Lavender Cupcakes

1/2 cup unsweetened non-dairy milk
2 tablespoons food-grade lavender flowers
1/2 cup firm silken tofu
1 teaspoon apple cider vinegar
1 1/3 cup all purpose gluten free flour (mine)
3/4 cup granulated sugar
1 1/4 teaspoon baking powder
1/8 teaspoon baking soda
1/2 non-dairy margarine, cut into 8 pieces
2 tablespoons canola oil
1 1/2 teaspoons good quality vanilla
1/4 cup Earl Grey tea, brewed and cooled to room temperature (non-dairy milk, if you prefer)

In a blender, whiz together the non-dairy milk and lavender flowers for about 5 minutes. Add 1/2 cup of firm silken tofu and whiz again, until combined and no solid tofu bits remain.

Preheat oven to 350 F. Add liners to the cupcake tins. Set aside in a small mixing bowl and whisk in the apple cider vinegar. In a large mixing bowl, whisk all the dry ingredients together. Using a hand or stand mixer, add the non-dairy margarine one piece at a time. Add the oil and mix until the mixture starts to look like wet sand, or little clumps have formed. Add the vanilla, lavender-milk-tofu mixture and Earl Grey tea and mix until fully combined. Using a spoon or a small ice cream scoop add one scoop to each miniature liner. If using a regular sized cupcake tin, add fill each liner about 2/3 full. Bake miniature ones for 20 minutes. Bake regular sized ones for 25 – 28 minutes, or until they spring back at your touch. Let cool on a rack.

lavendercupcakes4

Lavender-Blueberry Buttercream

1 cup non-dairy margarine, softened
1 teaspoon lavender flowers, crushed
4 1/2 cups icing sugar
1 teaspoon good quality vanilla extract
1/2 cup blueberries

Using a hand or a stand mixer, whip the non-dairy margarine and crushed lavender flowers on high speed for at least 5 minutes. Add the vanilla and one cup of icing sugar, beating for an additional 5 minutes. In a food processor, add the blueberries and a scoop of the frosting mixture and pulse until well combined and all the blueberry has been blended. The blueberry may separate a bit from the frosting at this point, but have no worries it will come together beautifully. Add the remaining icing sugar in several batches, making sure to whip for another 5 minutes total. Pipe onto cooled cupcakes in desired form.

lavendercupcakes

Raspberry-Lemon Cream Squares (Vegan, Gluten-free and Raw)

tart5

Berry season is NIGH, people. We buy berries all year long, owing to Husband’s amazing ability to actually eat them, so local berry season coming up is truly a reason to celebrate.

IMG_0018

I tried something new. It was a success but a bittersweet one. The limited amount of things that Husband can eat means that trying something really new like this, means it will veer into allergy territory and oh, boy does this! Almonds, cashews and coconut, never mind the fresh mint garnish, are all absolute no-gos for Husband.

This is also new territory for me because it is free of refined sugar and a raw dessert. I do not aspire to become a raw vegan and think it’s dangerous territory that new vegans get caught up in, but I am always up for something exciting and delicious to inspire me in the kitchen.

My inspiration is the raw cashew-coconut pie (which is a tad too salty) at a restaurant here in Montreal combined with precious little blackberry desserts I’ve seen pictures of on Tumblr.

The assembly is simple, but the ingredients are expensive. If you’re not in a place where you can afford (or even want to afford) them, please just enjoy the colourful pictures, skip over this recipe and wait for my next post (which will be a return to simple and affordable). I loved this square, especially the colour of the cream, but not being able to share with my husband was sadder than I had anticipated. All in all, a very fun experiment!

This was so good, I think I will attempt to develop a recipe that is not raw and has none of Husband’s allergens in it.

tart7

Almond Crust

1 cup raw almonds, pulsed in a food processor
250 g Medjool dates (that was 14 dates), pitted and roughly chopped
1/2 cup unsweetened coconut flakes
1/2 teaspoon vanilla extract

Place all ingredients in a food processor and pulse until the mixture starts to come together. You want to be able to press this into your 9×13 pan (or tart shell or mini-muffin pan) and have it stay together. If you live in a place that is less humid than Montreal, you want want to add a teaspoon of water to the mixture to get to this point. Evenly press the crust into the pan of your choice and cool in freezer or fridge while you are preparing the cashew cream.

Raspberry-Lemon Cream

1 cup raw cashews, soaked
1/2 cup raspberries
1 teaspoon vanilla extract
Zest of one lemon
Juice of 1 lemon
2 tablespoons agave nectar (more, if you like sweeter)
1 tablespoon water, optional

To begin, cover raw cashews in boiling water and let sit for at least an hour. The longer you soak your cashews (ie. overnight), the quicker your cream will develop a smooth consistency. Place all ingredients in a food processor and whiz until the cream has formed. Taste, add water if needed and whiz until desired consistency has been reached. I let my process for about 5 minutes, so that’s a good place to start. Pour cream mixture over chilled crust and return to cold-maker for additional chilling time.  Fridge or freezer – this dessert works both ways. Perhaps you can decide based on the weather.

Assembly

Assorted fresh berries
Fresh mint leaves, optional

Cut any shape you like out of your pan (squares, if you wanna follow my lead) and top with fresh berries and mint leaves. You can eat this dessert frozen or simply cold – perhaps you can decide based on the weather. We had surprise snow yesterday when I made this, but I still served them frozen, so what do I know?

Obligatory Charming Blog Anecdote:  I refused to eat dates as a child because I was terrified of them and the fact that they looked like bugs to me. I still don’t like to think about it, to be honest. Tell me about any funny food fears you had as a child in the comments!

tart3
tart8
tart1

Copycat Dragon Bowl

All right. There’s this yuppie vegan restaurant in Montreal; It’s always very busy and they run a very tight ship. Their immensely popular Dragon Sauce is a rite of passage for anyone living or visiting this interesting island. I’ve seen one or two copycat recipes online but let me tell you – they vastly overestimate the quality of ingredients that make up this delectable sauce. I suppose because it’s vegan, served over healthy ingredients and chockful of nutritional yeast, they go out on a limb and guess it has maple syrup and a whole host of other expensive items. Nah, I’m here to tell you as someone who knows someone who worked there and someone who has worked in industrial sized kitchens – that is not the case.

IMG_0003

What it is is sweet, tangy and full of rich umami flavour. This is a quick sauce to whiz up and what you put it over is up to you, but this is my no-fail suggestion for your first tries.  The most skilled part of the preparation is the tofu and I’ll guide you right through that. This is very satisfying while remaining fresh and not too heavy on your stomach. It’s absolutely a stunner, too. Sure to impress with very little effort.

dragonbowl4

Dragon Sauce

Covers at least 4 brown rice bowls

2 tablespoons canola oil
1/2 cup nutritional yeast
3 tablespoons apple cider vinegar
1/4 cup tamari soy sauce
1/4 cup  granulated sugar (yep, sorry to break it to you, this sauce is made with copious amounts of sugar)
2 cloves garlic, peeled and diced

Combine all ingredients in a blender. Pulse until thickened. Taste and adjust any of the ingredients for the balance you like (more salty, sour, etc).

Golden Brown Tofu

tumblr_n3tqav6atO1r1ua64o4_500

1 lb firm tofu, 12 equal slices (quartered, then each quarter into thirds)
1 tablespoon canola oil
1/2 teaspoon garlic salt

Heat the oil in a large non-stick skillet over medium high. Add tofu slices, laying them all flat. Sprinkle with garlic salt and let tofu brown on each side, for about ten minutes.

Dragon Bowl Ingredients

Brown rice
Steamed broccoli
Sliced radishes
Shredded carrots and beets
Romaine lettuce

Assemble as you like. Let your imagination run wild: you can add anything you want to this bowl. Smother with as much sauce as you like. Eat often.

dragonbowl3